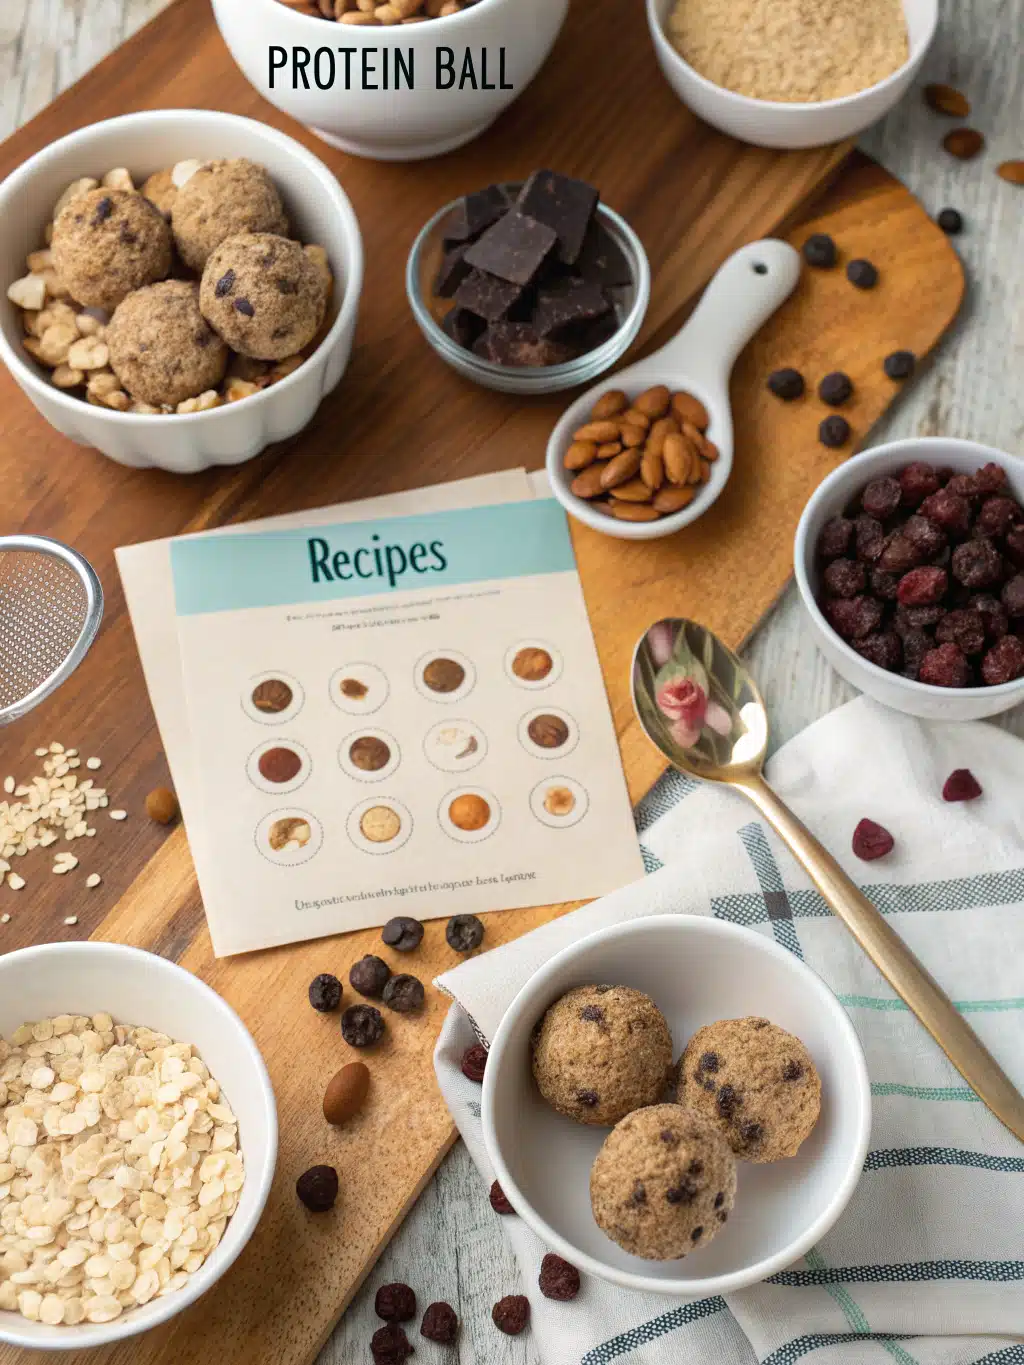
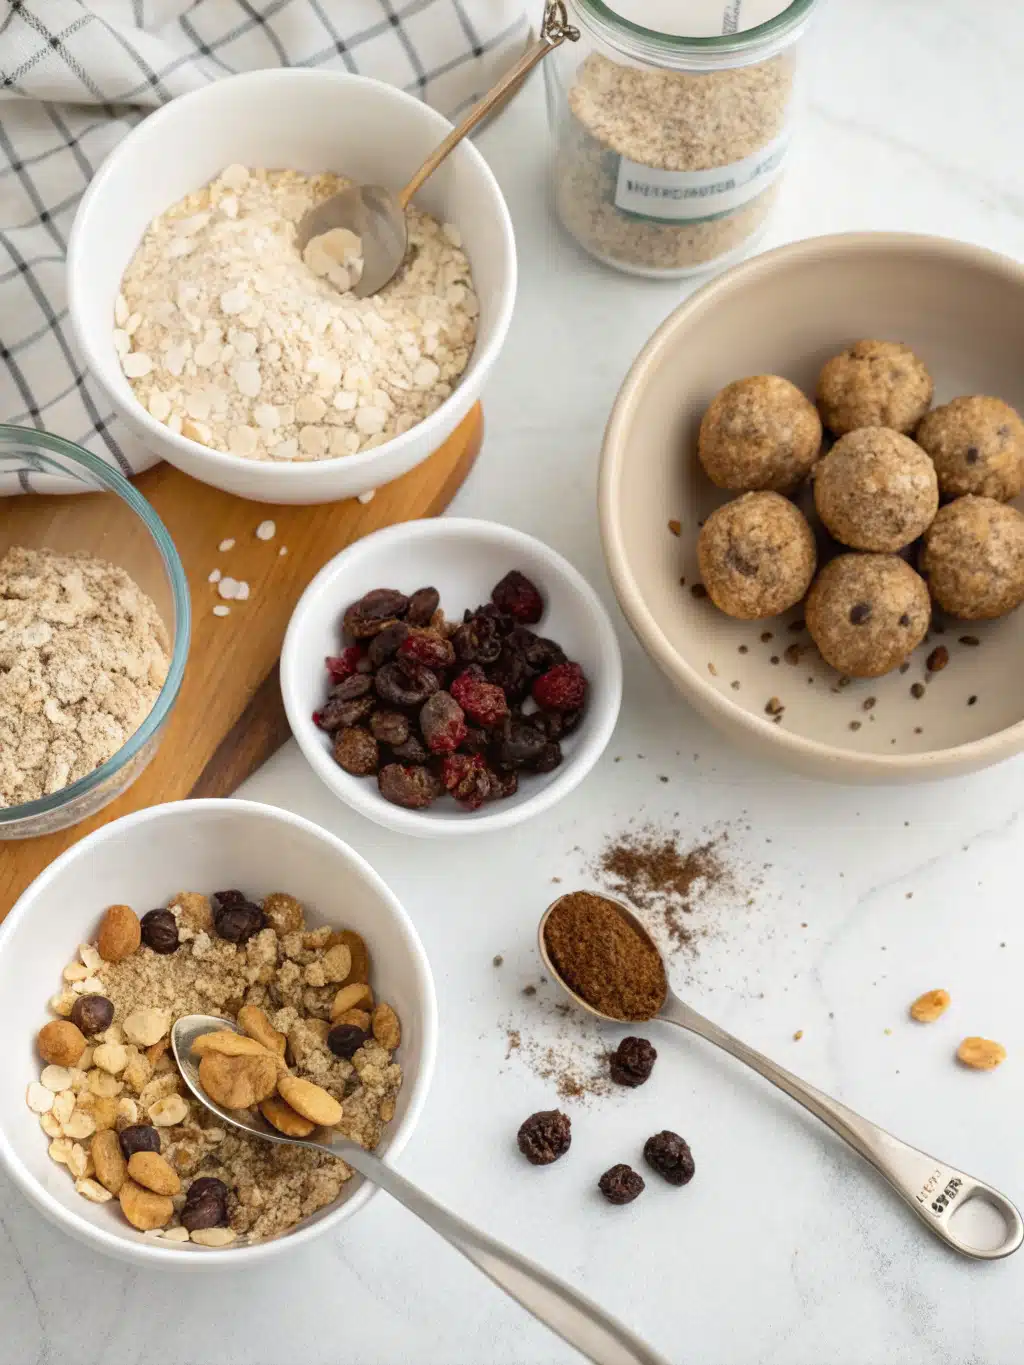
Ever wondered how to satisfy your sweet cravings without sabotaging your healthy eating goals? What if you could enjoy a delicious treat that’s packed with protein, requires zero baking, and takes just minutes to prepare?
These protein ball recipes no bake are the perfect solution for busy individuals looking for nutritious snacks on the go. Packed with wholesome ingredients and natural sweeteners, these bite-sized energy boosters will keep you fueled throughout the day without the guilt of processed snacks.
PrintProtein Ball Recipes No Bake – Easy, Healthy & High-Protein Snacks!
- Total Time: 45 minutes
- Yield: 18–20 protein balls 1x
Description
These no-bake protein ball recipes are quick, healthy, and packed with protein! Perfect for busy days, post-workout snacks, or guilt-free sweet cravings.
Ingredients
- 1 cup rolled oats
- 1/2 cup natural peanut butter
- 1/3 cup honey or maple syrup
- 1/4 cup protein powder
- 2 tablespoons chia seeds
- 3 tablespoons cocoa powder
- 1 teaspoon vanilla extract
- 1/4 cup mini dark chocolate chips
- Pinch of sea salt
Instructions
- Mix oats and protein powder in a bowl.
- Add chia seeds, cocoa powder, and salt.
- In another bowl, whisk peanut butter, honey (or maple syrup), and vanilla extract.
- Combine wet and dry mixtures into a uniform dough.
- Fold in mini chocolate chips.
- Roll into 1-inch balls using your hands or a small scoop.
- Chill in the refrigerator for at least 30 minutes before serving.
- Prep Time: 15 minutes
- Cook Time: 0 minutes
- Category: Snack
- Cuisine: American
Nutrition
- Serving Size: 2 balls
- Calories: 220
- Sugar: 12g
- Sodium: 80mg
- Fat: 11g
- Saturated Fat: 2.5g
- Unsaturated Fat: 8g
- Trans Fat: 0g
- Carbohydrates: 24g
- Fiber: 4g
- Protein: 8g
- Cholesterol: 0mg
Whether you’re a fitness enthusiast, a busy parent, or simply someone who appreciates quick and healthy treats, these no-bake protein balls will become your new favorite snack option. Let’s dive into some delicious recipes that require minimal effort but deliver maximum nutrition!
Ingredients List

The beauty of protein ball recipes no bake lies in their versatility. Here are the core ingredients you’ll need for our classic chocolate peanut butter protein balls:
- 1 cup rolled oats – Use gluten-free certified oats if you have sensitivities
- 1/2 cup natural peanut butter – Almond or cashew butter work beautifully as alternatives
- 1/3 cup honey or maple syrup – For vegan options, stick with pure maple syrup
- 1/4 cup protein powder – Choose vanilla, chocolate, or unflavored based on your preference
- 2 tablespoons chia seeds – Flaxseeds make an excellent omega-rich substitute
- 3 tablespoons cocoa powder – Raw cacao powder offers more antioxidants
- 1 teaspoon vanilla extract – The real extract provides the most authentic flavor
- 1/4 cup mini dark chocolate chips – Optional but highly recommended for chocolate lovers
- Pinch of sea salt – Enhances all the flavors and balances sweetness
The ingredients create a perfect balance of protein, healthy fats, and complex carbohydrates, making these balls an ideal snack for sustained energy release throughout the day.
Timing
One of the greatest advantages of protein ball recipes no bake is their efficiency. Here’s what you can expect time-wise:
Preparation time: 15 minutes
Chilling time: 30 minutes
Total time: 45 minutes
That’s 75% less time than most baked protein snacks, which typically require 2-3 hours from start to finish. Plus, you’ll save on electricity by skipping the oven, making these treats both time and energy efficient!
Step-by-Step Instructions

Step 1: Prepare Your Base
In a large mixing bowl, combine the rolled oats and protein powder. Stir thoroughly to ensure even distribution of the protein powder throughout the mixture. This creates the foundation for your protein balls and ensures consistent texture and flavor in every bite.
Step 2: Add Dry Ingredients
Add the chia seeds, cocoa powder, and sea salt to your oat mixture. Stir until all dry ingredients are well combined. The cocoa powder should be evenly distributed with no visible clumps, creating a uniform chocolate base.
Step 3: Mix Wet Ingredients
In a separate small bowl, whisk together the peanut butter, honey (or maple syrup), and vanilla extract until smooth and well-integrated. Warming the peanut butter slightly (about 15 seconds in the microwave) can make it easier to mix if it’s too firm.
Step 4: Combine Everything
Pour the wet ingredient mixture into your bowl of dry ingredients. Using a sturdy spatula or clean hands, mix thoroughly until a consistent, slightly sticky dough forms. The mixture should hold together when pressed but not be overly wet or dry.
Step 5: Fold in Add-ins
Gently fold in the mini chocolate chips, distributing them evenly throughout the mixture. If the dough feels too sticky at this point, refrigerate it for 10 minutes before proceeding to the next step.
Step 6: Shape Your Protein Balls
Using a tablespoon or small cookie scoop, portion out the mixture and roll between your palms to form balls approximately 1-inch in diameter. This recipe should yield about 18-20 protein balls, depending on your preferred size.
Step 7: Chill to Set
Place the formed protein balls on a parchment-lined baking sheet and refrigerate for at least 30 minutes to firm up. This chilling step is crucial for helping the balls hold their shape and developing the perfect texture.
Nutritional Information
These no-bake protein balls pack an impressive nutritional punch in a small package. Here’s the breakdown per serving (2 balls):
Calories: 220
Protein: 8g
Carbohydrates: 24g
Fiber: 4g
Sugar: 12g (primarily from natural sources)
Fat: 11g (predominantly healthy unsaturated fats)
Iron: 8% of daily value
Calcium: 4% of daily value
Studies show that consuming 5-10g of protein between meals can help maintain steady blood sugar levels and reduce overall calorie intake by up to 135 calories per day by minimizing hunger pangs.
Healthier Alternatives for the Recipe
Want to customize your protein ball recipes no bake for specific dietary needs? Here are some smart substitutions:
Lower sugar option: Replace honey/maple syrup with mashed ripe banana or unsweetened applesauce, and use stevia-sweetened chocolate chips. This can reduce the sugar content by up to 60% while maintaining sweetness.
Higher protein version: Increase protein powder to 1/3 cup and add 2 tablespoons of collagen peptides. This modification boosts protein content to approximately 12g per serving.
Keto-friendly adaptation: Substitute oats with a mixture of almond flour and unsweetened shredded coconut. Use a keto-friendly sweetener like monk fruit instead of honey, and choose a low-carb protein powder.
Nut-free alternative: Replace peanut butter with sunflower seed butter or tahini, and use seed-based mix-ins like pumpkin or sunflower seeds instead of nuts.
Serving Suggestions
Elevate your protein ball experience with these creative serving ideas:
Morning energy boost: Pair two protein balls with a small apple and a cup of green tea for a balanced breakfast on busy mornings.
Post-workout recovery: Enjoy 2-3 protein balls within 30 minutes after exercise alongside a glass of almond milk to replenish energy stores and support muscle recovery.
Afternoon pick-me-up: Serve with a small espresso or matcha latte for a satisfying alternative to processed vending machine snacks during the 3 PM energy slump.
Dessert reimagined: Crumble a protein ball over Greek yogurt and add fresh berries for a nutrient-dense dessert that satisfies sweet cravings with less than half the sugar of traditional desserts.
Common Mistakes to Avoid
- Using warm ingredients: Working with warm peanut butter or adding warm components can melt chocolate chips and create a messy mixture. Ensure all ingredients are at room temperature or cooler.
- Skipping the chilling step: Approximately 30% of no-bake protein ball failures occur when the mixture isn’t properly chilled. Don’t rush this crucial step!
- Incorrect wet-to-dry ratio: If your mixture is too dry and crumbly, add a tablespoon of liquid (milk, water, or more nut butter) at a time. If too wet, gradually incorporate more oats or protein powder.
- Using chunky mix-ins that are too large: Oversized nuts or chocolate chunks can make the balls fall apart. Chop add-ins into small pieces (1/4 inch or smaller) for better cohesion.
- Over-handling the mixture: Rolling the balls too long can warm the mixture and make it sticky. Work quickly with slightly damp hands to prevent sticking.
Storing Tips for the Recipe
Proper storage is key to maintaining freshness and extending the life of your protein balls:
Refrigerator storage: Place cooled protein balls in an airtight container with parchment paper between layers to prevent sticking. They’ll remain fresh for up to 1 week in the refrigerator.
Freezer option: For longer storage, freeze the balls on a baking sheet until solid (about 2 hours), then transfer to a freezer-safe container or zip-top bag. They’ll maintain quality for up to 3 months.
On-the-go storage: For daily snacking, store 2-3 balls in small silicone reusable bags or wrap individually in parchment paper for easy transport in lunch boxes or gym bags. They stay fresh at room temperature for up to 8 hours.
Batch preparation: Consider doubling the recipe and freezing half for future use. This efficiency hack ensures you always have healthy snacks available when cravings strike.
*For more delicious recipes and kitchen inspiration, don’t forget to follow our Facebook page!
Conclusion
These no-bake protein balls represent the perfect intersection of nutrition, convenience, and delicious flavor. With just 15 minutes of active preparation time, you can create a week’s worth of nutrient-dense snacks that support your health and fitness goals.
The versatility of these protein-packed treats means you can easily adapt them to suit any dietary preference or restriction while still enjoying their satisfying taste and texture. From post-workout recovery to mindful snacking, they fit seamlessly into any lifestyle.
Have you tried making these protein balls? I’d love to hear about your favorite flavor combinations or creative adaptations! Share your experiences in the comments below, or tag us in your protein ball creations on social media. Happy (no) baking!

