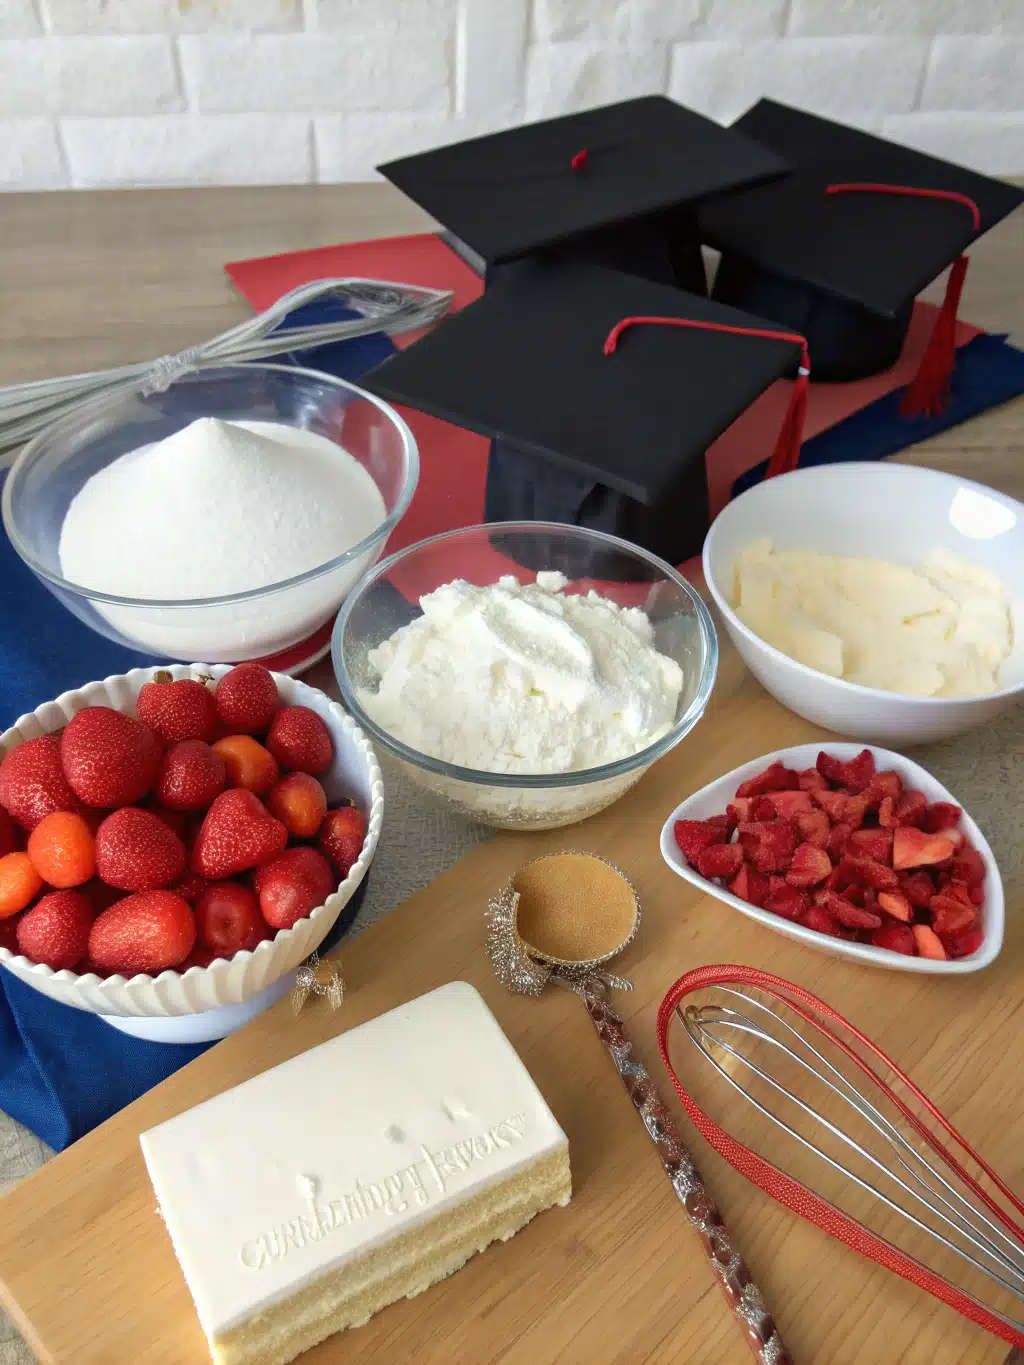
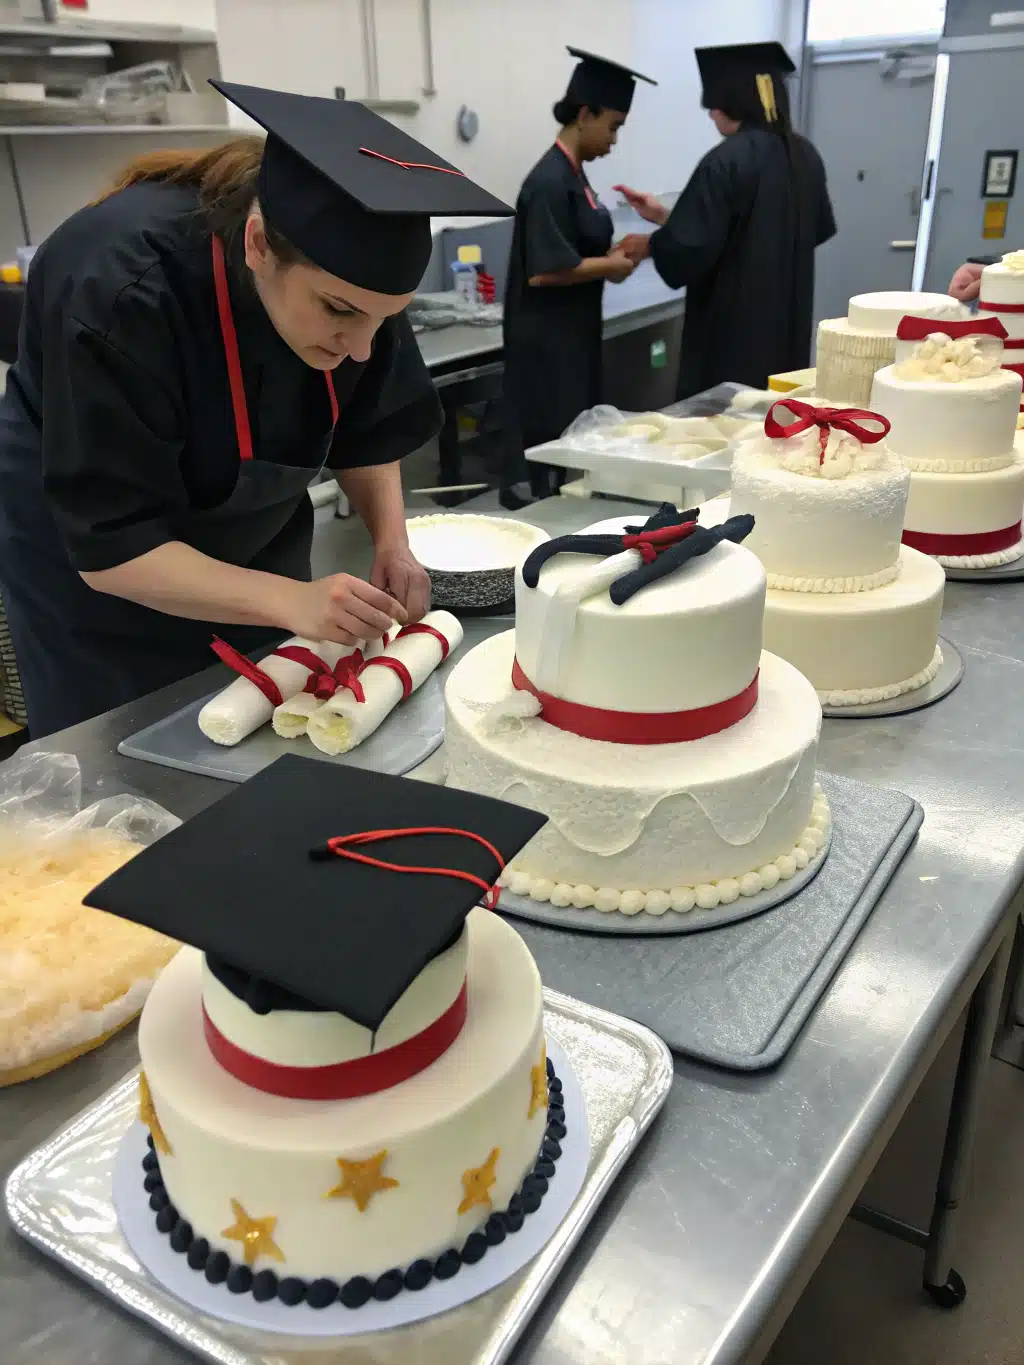
Have you ever wondered how to create a graduation cake that truly captures the essence of achievement while still tasting incredible? The perfect graduation celebration deserves more than just a generic store-bought dessert—it calls for a personalized creation that honors years of hard work and determination.
Graduation Cakes Ideas: Creative Designs to Celebrate Their Big Day
- Total Time: 1 hour 25 minutes
- Yield: Serves 12–16
Description
Celebrate academic success with a graduation cake that’s as meaningful as it is delicious. This step-by-step recipe helps you create a stunning centerpiece with rich flavor, creative design, and personalized details—all without needing professional baking experience.
Ingredients
- All-purpose flour
- Granulated sugar
- Unsalted butter
- Large eggs
- Buttermilk (or dairy-free alternative)
- Vanilla extract
- Baking powder
- Baking soda
- Salt
Instructions
- Preheat oven and prepare cake pans.
- Mix dry ingredients.
- Cream butter and sugar until fluffy.
- Add eggs and vanilla.
- Alternate dry mix with buttermilk until incorporated.
- Bake and cool cake layers.
- Prepare frosting and decorate with graduation cap design.
- Add final touches and personalize with messages.
Notes
- Chill cake layers before frosting for easier decorating.
- Use school colors and custom designs to match the graduate’s style.
- Make the cake ahead and store properly to reduce stress on the big day.
- Prep Time: 45 minutes
- Cook Time: 40 minutes
- Category: Celebration Cake
- Method: Baking
- Cuisine: American
Nutrition
- Serving Size: 1 slice
- Calories: 420
- Sugar: 42g
- Sodium: 210mg
- Fat: 21g
- Saturated Fat: 13g
- Unsaturated Fat: 7g
- Trans Fat: <0.5g
- Carbohydrates: 56g
- Fiber: 0.5g
- Protein: 4g
- Cholesterol: 95mg
Creating memorable graduation cakes doesn’t require professional baking skills. With the right ingredients, techniques, and a dash of creativity, you can craft a showstopping centerpiece that will make the graduate feel truly special on their big day.
Ingredients List

For a classic graduation cap cake that serves 12-16 people, you’ll need these quality ingredients that balance flavor and structure:
- 3 cups all-purpose flour (substitute with cake flour for a lighter texture)
- 2 cups granulated sugar (coconut sugar works as a less refined alternative)
- 1 cup unsalted butter, softened (plant-based butter can be substituted for dairy-free needs)
- 4 large eggs (flax eggs work for vegan versions)
- 1 cup buttermilk (almond or oat milk with 1 tbsp vinegar for dairy-free)
- 2 tsp vanilla extract (pure, not imitation for best flavor)
- 2 tsp baking powder
- 1/2 tsp baking soda
- 1/2 tsp salt
For the frosting and decoration:
- 4 cups powdered sugar
- 1 cup unsalted butter, softened
- 4 tbsp heavy cream (coconut cream for dairy-free)
- 2 tsp vanilla extract
- Food coloring (school colors or graduate’s preference)
- 1 sheet black fondant (for graduation cap)
- Edible gold or silver dust (for tassel)
- Small candies or chocolates (for additional decoration)
Timing
- Creating stunning graduation cakes requires patience and careful timing. Plan accordingly to ensure perfect results without last-minute stress.
- Preparation time: 45 minutes (30% faster if you prepare decorations in advance)
- Baking time: 35-40 minutes (varies slightly based on oven calibration)
- Cooling time: 2 hours minimum (crucial for structural integrity)
- Decoration time: 1-1.5 hours (depends on complexity of design)
- Total time: Approximately 4-5 hours (can be split across two days for convenience)
Step-by-Step Instructions

Step 1: Prepare Your Workspace and Ingredients
Begin by bringing butter and eggs to room temperature for optimal incorporation. Preheat your oven to 350°F (175°C) and grease two 9-inch square cake pans, lining the bottoms with parchment paper. This preparation ensures even baking and easy removal.
Step 2: Mix the Dry Ingredients
In a medium bowl, whisk together the flour, baking powder, baking soda, and salt until well combined. This pre-mixing prevents clumping and ensures even distribution of leavening agents throughout your graduation cakes.
Step 3: Cream Butter and Sugar
Using an electric mixer, beat the butter and sugar on medium-high speed for 3-4 minutes until light and fluffy. This crucial step incorporates air into the mixture, creating a tender crumb. Don’t rush this process—proper creaming affects the cake’s final texture significantly.
Step 4: Add Eggs and Vanilla
Add eggs one at a time, beating well after each addition. Scrape down the sides of the bowl frequently to ensure even mixing. Stir in vanilla extract until just combined, being careful not to overmix.
Step 5: Alternate Dry Ingredients and Buttermilk
Gradually add the dry ingredients to the butter mixture in three batches, alternating with buttermilk. Begin and end with dry ingredients. Mix on low speed just until incorporated. Overmixing at this stage can develop too much gluten, resulting in a tough cake.
Step 6: Bake the Cakes
Divide the batter evenly between the prepared pans. Smooth the tops with a spatula and tap pans gently on the counter to remove air bubbles. Bake for 35-40 minutes, or until a toothpick inserted in the center comes out clean.
Step 7: Cool Completely
Allow cakes to cool in pans for 15 minutes before transferring to wire racks to cool completely. This gradual cooling prevents cracking and maintains moisture. For best results, wrap cooled cakes in plastic wrap and refrigerate for 1-2 hours before decorating.
Step 8: Prepare the Frosting
Beat butter until creamy, then gradually add powdered sugar, one cup at a time. Add vanilla and heavy cream, beating until smooth and fluffy. Divide and color as needed for your design, reserving some white frosting for accents.
Step 9: Create the Graduation Cap Design
Cut one cake into a square for the graduation cap base. Use the second cake to create a smaller square for the cap top. Apply a crumb coat of frosting to both pieces and chill for 20 minutes before final frosting. This creates a smooth, professional finish.
Step 10: Add Finishing Touches
Roll out black fondant and drape over the top cake piece to create the cap. Add a fondant tassel dusted with edible gold or silver. Pipe congratulatory messages using contrasting colored frosting. Add any personalized elements that reflect the graduate’s achievements or future plans.
Nutritional Information
Understanding the nutritional content of graduation cakes helps you make informed choices about serving sizes and potential modifications. The following information is based on a standard serving (1/16 of the complete cake):
- Calories: 420 per serving
- Total Fat: 21g (Saturated Fat: 13g)
- Cholesterol: 95mg
- Sodium: 210mg
- Total Carbohydrates: 56g (Dietary Fiber: 0.5g, Sugars: 42g)
- Protein: 4g
Note that these values will vary based on specific ingredients, brands, and any substitutions made. Decorative elements like fondant will increase sugar content significantly.
Healthier Alternatives for the Recipe
Create graduation celebrations that accommodate various dietary needs without sacrificing flavor or visual appeal with these thoughtful modifications:
For reduced sugar content, decrease granulated sugar by 25% and add 1/2 teaspoon of cinnamon to enhance perceived sweetness. Research shows this can reduce overall calories by approximately 15% while maintaining satisfaction ratings.
Replace all-purpose flour with white whole wheat flour for increased fiber content. Mix in 1/4 cup of ground flaxseed for omega-3 fatty acids and additional fiber that supports digestive health.
For gluten-free graduates, substitute a high-quality cup-for-cup gluten-free flour blend and add 1/4 teaspoon of xanthan gum to maintain proper structure. Consider almond flour for part of the mixture to add nutty flavor and reduce the glycemic impact.
Serving Suggestions
Elevate your graduation celebration with these creative serving ideas that complement your cake:
Create an interactive dessert station with the cake as the centerpiece, surrounded by school-colored macarons, chocolate-dipped strawberries with diploma ribbons, and personalized cookies featuring graduation year numbers.
Serve thin slices alongside small glasses of milk, coffee, or champagne (for adult celebrations) with coordinating straws or stirrers in graduate’s school colors.
For outdoor ceremonies in warmer weather, consider serving cake slices with a small scoop of complementary ice cream (vanilla bean pairs beautifully with most cake flavors) to create a memorable temperature contrast.
Common Mistakes to Avoid
- Decorating warm cakes: Always allow cakes to cool completely before frosting. Warm cakes cause frosting to melt, resulting in structural collapse and messy presentation.
- Rushing the process: Graduation cakes require patience. Schedule at least two days for preparation—one for baking and one for decorating—to avoid stress and mistakes.
- Overbeating the batter: Once flour is added, mix just until combined. Overmixing develops gluten, resulting in tough, dense cakes rather than tender, moist ones.
- Skipping the crumb coat: Apply a thin layer of frosting first, then chill before the final coat. This seals in crumbs and creates a professional finish.
- Using cheap ingredients: Quality matters, especially for vanilla extract and butter. Premium ingredients yield noticeably better flavor in the finished cake.
Storing Tips for the Recipe
Proper storage ensures your graduation cake remains fresh and delicious from preparation through celebration:
Unfrosted cake layers can be wrapped tightly in plastic wrap and stored at room temperature for up to two days or frozen for up to three months. Thaw frozen layers in the refrigerator overnight before decorating.
Completed cakes with buttercream frosting can be stored at room temperature in a cake keeper for 2-3 days if your environment isn’t too warm (below 70°F). In warmer conditions, refrigerate the cake but bring to room temperature 1-2 hours before serving for optimal flavor and texture.
For fondant-decorated cakes, avoid refrigeration if possible as condensation can damage the fondant’s appearance. If refrigeration is necessary, place the cake in a cake box with several silica gel packets to absorb moisture.
👉 For more delicious recipes and celebration ideas, follow our Facebook page! 🎉🍰
Conclusion
Creating memorable graduation cakes is more than just baking—it’s crafting an edible symbol of achievement that honors years of dedication and hard work. With the techniques and tips provided, you can create a stunning centerpiece that not only tastes delicious but also becomes a focal point of the celebration.
Have you created a special graduation cake? We’d love to see your creations and hear about your experiences! Share photos in the comments below, or tag us on social media. And if you’re looking for more celebration cake ideas, explore our collection of special occasion desserts for every milestone.

